When a material begins its journey through a manufacturing process, it becomes crucial to know and control everything that happens to that material as it makes its way down the line. There are two major factors to consider when understanding and controlling what happens to the surface of that material: the actual physical space of the warehouse and the time it takes to get through the entire process of being bonded, coated, painted, sealed, glued, or printed. If you don't know precisely what is occurring at each Critical Control Point and you don't continually monitor the surface throughout the duration of the process, you could be trending towards adhesion or coating failure and not even know it.
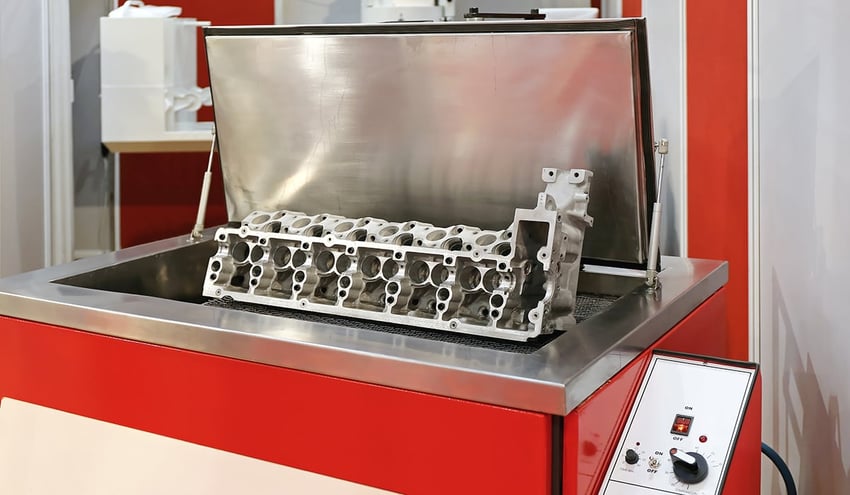
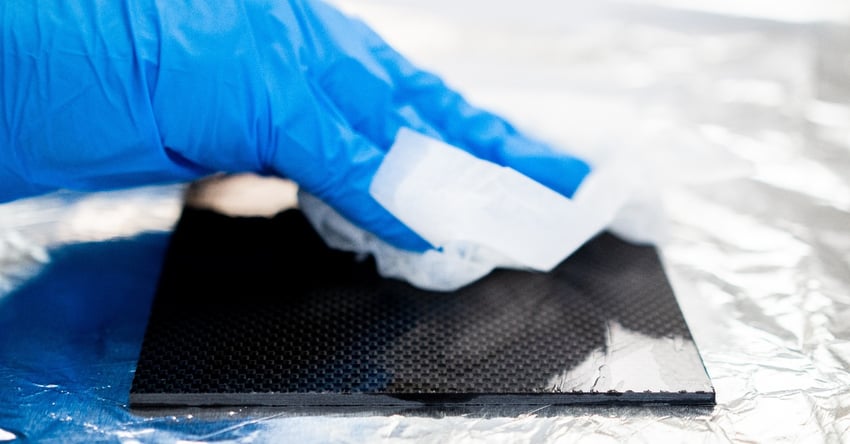
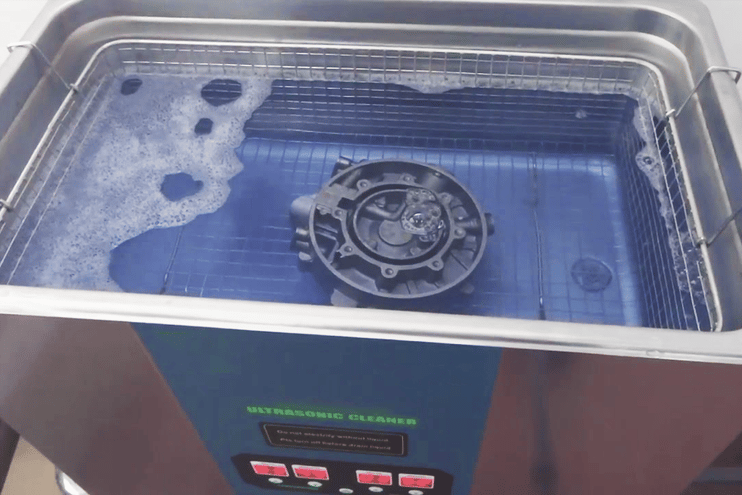
The first factor to consider is fairly logical. Every manufacturing process has many points along the way where the surface state of the material is altered in one way or another. Often, these points are where an ultrasonic part cleaner, atmospheric plasma treatment, abrading step, or other cleaning and surface activation steps come into play. More often than not, manufacturers will implement these steps and then not consider how they may degrade over time.
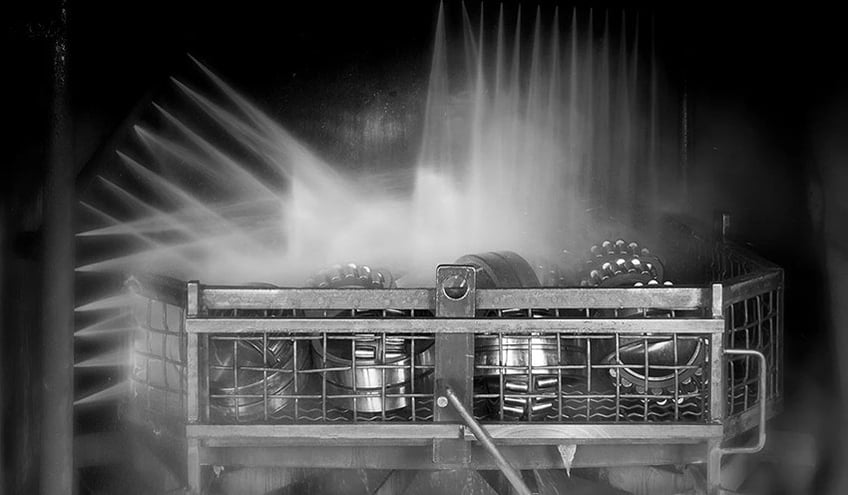
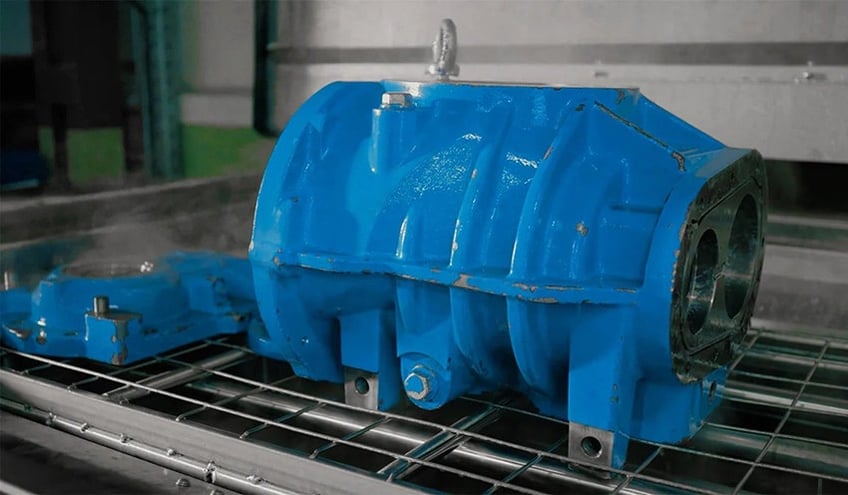
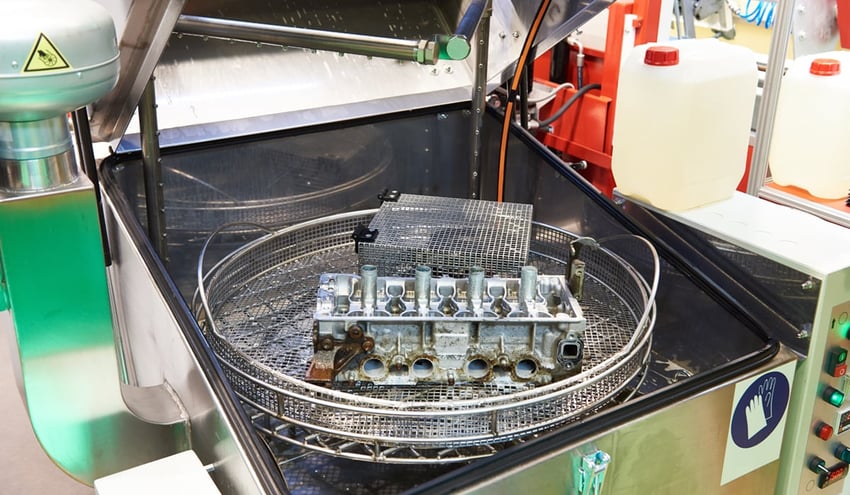
Take, for instance, a parts washer that seems to be getting the surfaces clean. How do you know when is truly the proper time to change the solvents and degreasers? If a quantifiable measurement goal were established before and after the parts washing phase, you could clean to the number and know immediately when the solvents have passed the point of needing to be changed.
Rethink your adhesion manufacturing processes with Surface Intelligence.
To ensure that your cleaning and surface activation steps properly prepare the material surface, a measurement of the surface state needs to be taken before and after each of these Critical Control Points and then again every time those steps are taken. This monitoring process will stop problems before they start costing manufacturers immense amounts of time and money.
The second factor, time, is intrinsically linked to the first. Just like cleaning equipment cannot be expected to maintain absolute consistency without close monitoring, the actual surface of the material can go through massive changes over time when no one is looking.
It is likely that when a material arrives at a manufacturing facility for assembly, it has spent time elsewhere, like at the supplier's site, not to mention on the vehicle that delivered it. This time, outside of the manufacturer's control, needs to be measured with a number so that the first step is not a shot in the dark, hoping that all materials enter the process at the same level of readiness or cleanliness.
Similarly, if a material spends any portion of its life in storage, it is crucial to understand what changes that surface has undergone while waiting on a shelf. The previous treatment most likely degraded over that time, and unforeseen contaminants in the storage area could have come into contact with the material. All of this can be prevented by continual monitoring with a quantitative measurement.
Download the eBook "Metrics That Matter: Quantifying Cleaning Efficacy for Manufacturing Performance" to learn how manufacturers are using surface intelligence to control their manufacturing processes.

