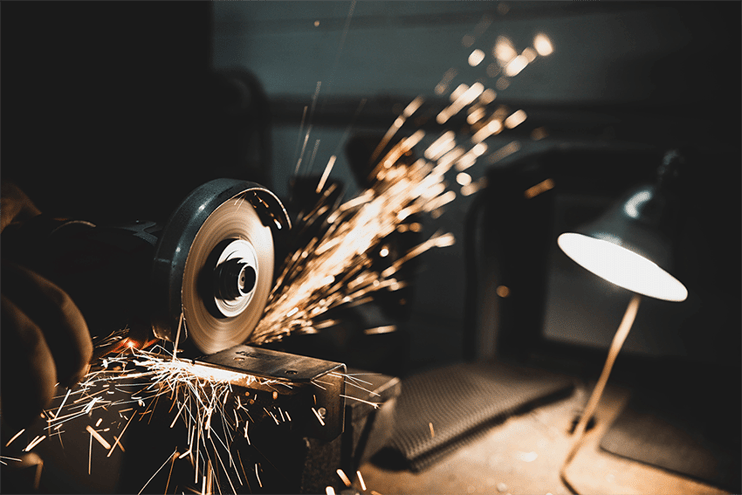
Materials science and engineering influence our lives daily and open the door to new innovations in manufacturing. Each time you wear pair of shoes, scroll on your smart device or use a golf club, you are interacting with a product that was produced using materials, adhesives, and coatings that work together in a specific way to perform as expected.
So how can engineers build products using complex materials and processes and confidently predict product performance will be reliable?
Surface Preparation & Quality
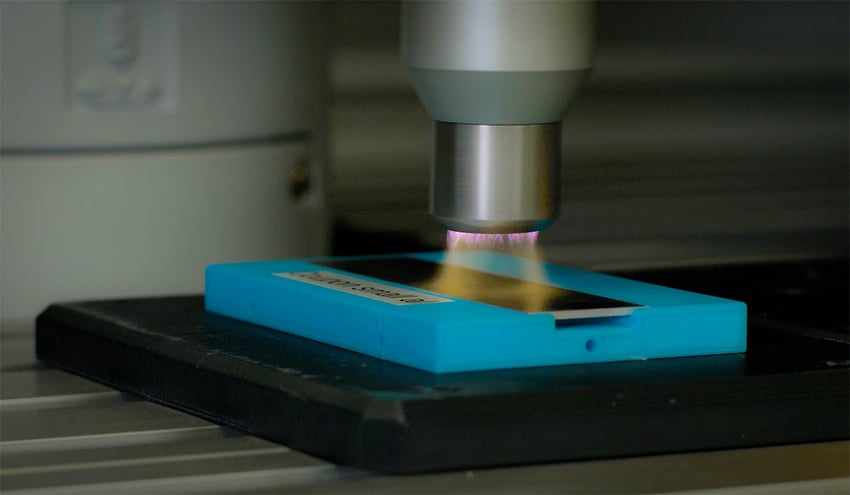
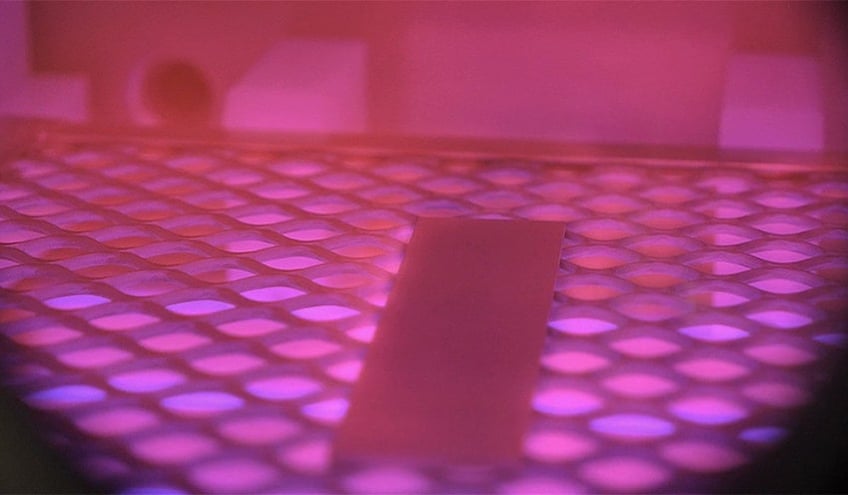
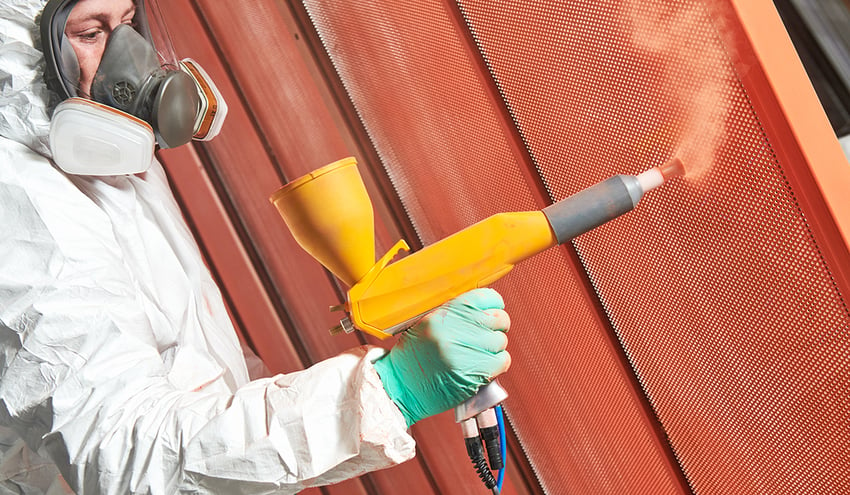
These innovations in advanced materials and coatings are changing the landscape of production processes. Technologies like plasma treatment, laser ablation, and CO2 cleaning help activate and prepare these materials for the final adhesion step. These processes have been developed to control the material’s surface in order to gain successful adhesion. Whether the manufacturing application includes applying a specialized coating on a medical catheter, bonding the sole of a gym shoe, or cleaning the surface of an aluminum auto part for sealing—the final product's performance depends on the quality of the surface.
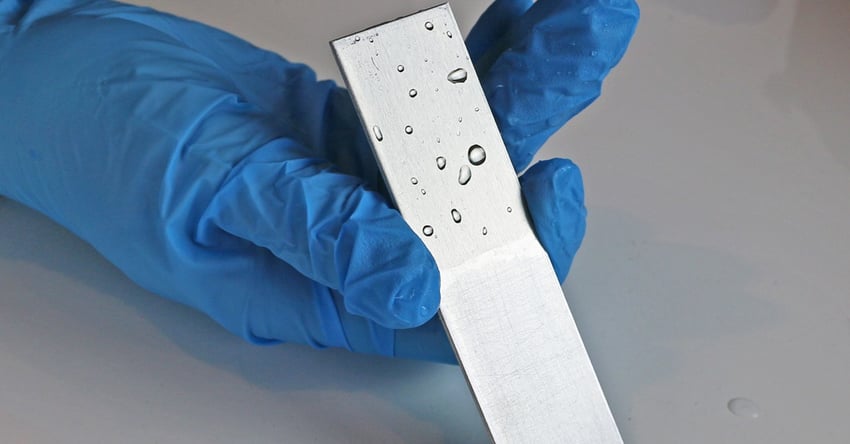
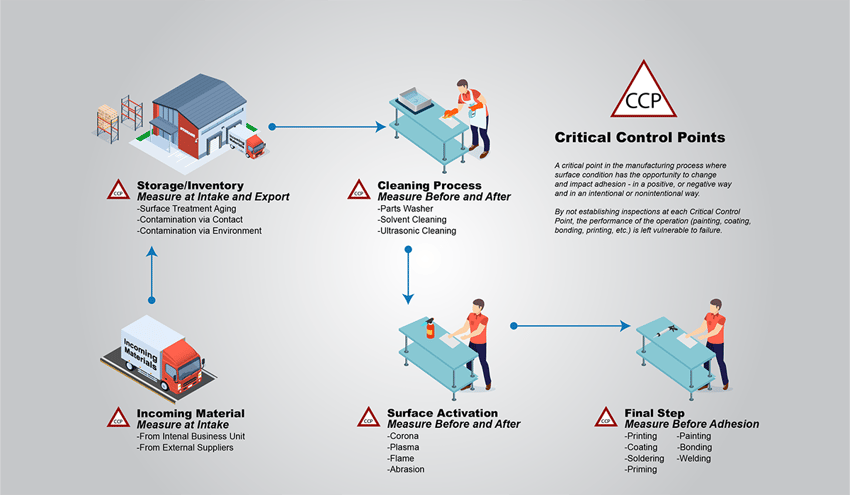
This is where surface quality measurement comes into play. The task of surface quality measurement equipment and operations is to verify at each Critical Control Point (any step in the adhesion process where a material surface has an opportunity to change intentionally or not) if the cleaning, preparation, and treatment steps are properly manipulating the surface.
Being able to automate this validation and gain access to this new kind of data infuses a new level of efficiency and reliability into products being produced with complex materials and processes.
Automated Inspection Happens Directly on the Production Line
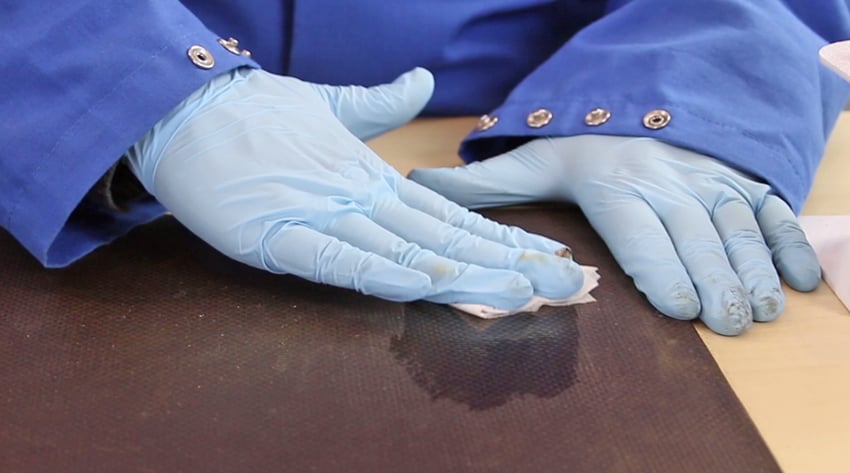
Historically, material surface measurement and analysis have taken place offline, typically in a laboratory setting or someplace that wouldn’t disrupt the production flow. Historically, surface quality specifications have been created in the lab with the hope that they translate perfectly to the production line. More often than not, the production process is executed without a validation step to ensure that what was done in the lab actually works on the floor. Many cleanliness inspection tests are destructive to the part being inspected when surface quality is even being evaluated in production, so samples must be removed from the production line, tested elsewhere, and ultimately discarded.
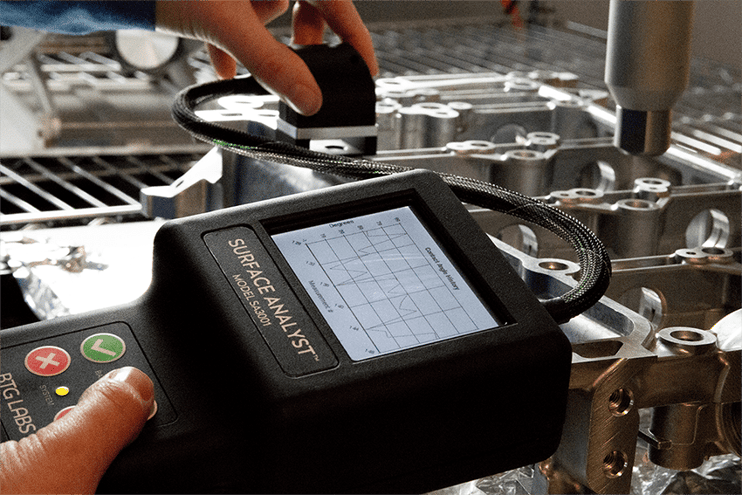
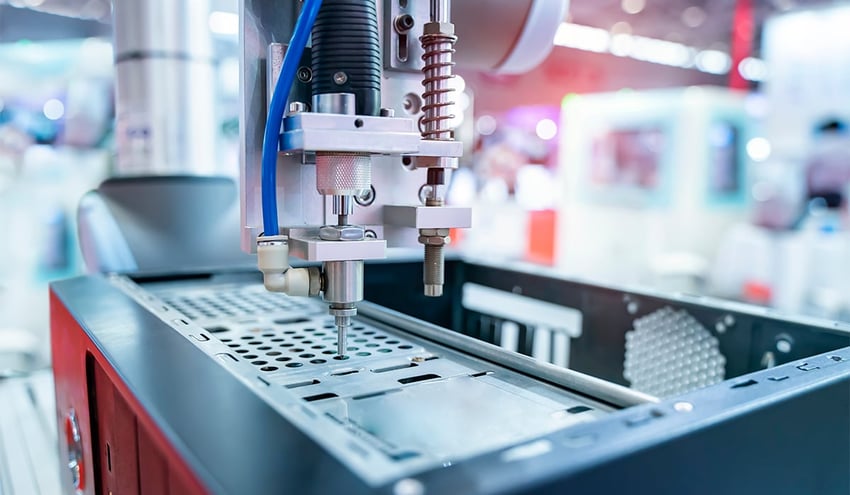
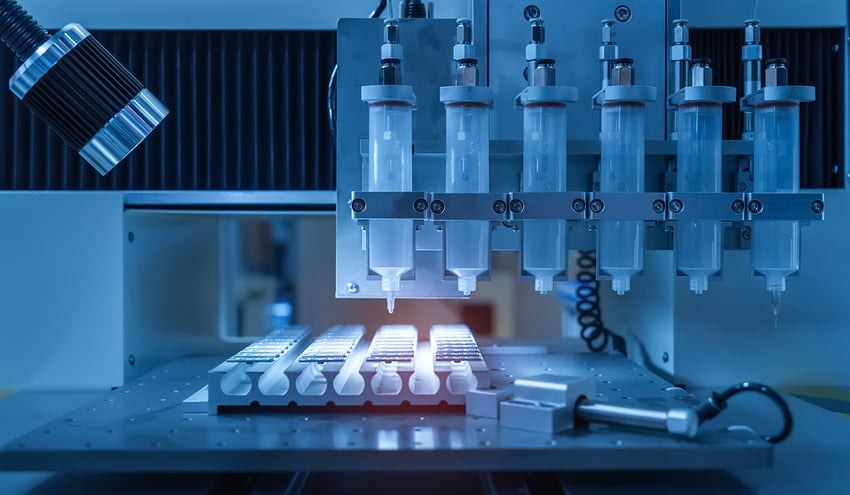
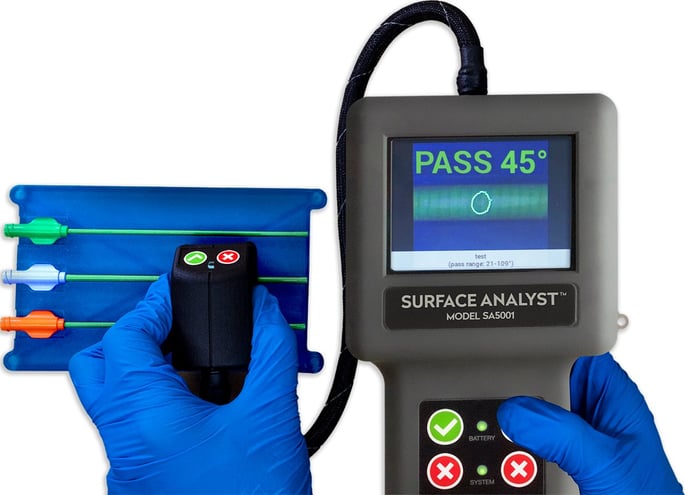
Installing an automated surface quality inspection system completely upends this need for offline evaluation. Equipping a robotic arm with a non-destructive surface quality measurement device directly in the flow of production instantly removes unnecessary steps and built-in scrap caused by traditional inspection methods. Additionally, if an in-line option isn’t feasible due to production configuration constraints, an automated check station that sits next to the production line is a great alternative.
Automated inspections, as a replacement for subjective, manual tests, removes the possibility of human error. Using a quantitative, repeatable measurement for surface quality verification is the first step to taking control of an adhesion process. Utilizing an automated process to conduct that verification elevates the level of consistency, reliability, and objectivity.
It’s fast. It’s accurate. It’s non-destructive. It’s the Automated Surface Analyst.
Automated Inspection Opens up Communication
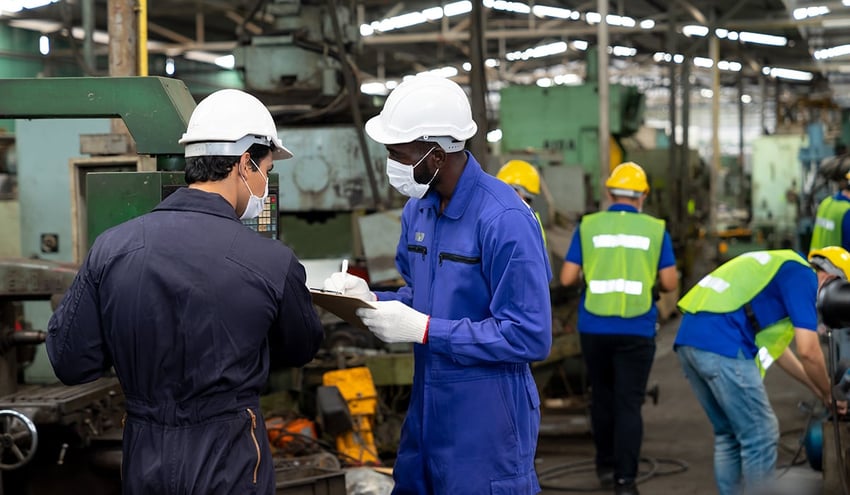
When information about surface quality is available as immediately and quickly as it can be with an automated system, the gears of communication begin to work more efficiently as well. Communication between processing equipment, communication between OEMs and their suppliers, and communication within organizations all become more productive and clear when well-defined, quantitative surface intelligence data is gathered.
An automated inspection point set up directly following a cleaning or activation step can track drifts in surface quality in real time. As parts make their way through an industrial wash bath, the fluids retain what was removed from the surfaces and become less effective over time. An automated surface inspection post-wash can immediately flag the exact moment a material’s surface is no longer within the quality specification required for optimal adhesion performance. Operators can know within seconds when they need to change the wash fluids.
Anomalies can also be detected where they could easily slip through before. For instance, if a component has a uniquely unclean surface compared to the rest of the parts being processed, an automated system could detect this at any stage in production. This prevents unknowingly keeping unsuitable parts in the process flow that need to be handled differently than the rest.
When an automated surface inspection system is used, it creates a common language between suppliers and manufacturers as well as inter-departmentally within a company. A streamlined, quantitative evaluation removes confusion about whether an incoming part is meeting surface quality standards and helps get to the root cause of adhesion problems that crop up.
When surface quality data is collected digitally at the source of the inspection, it expands the availability of that information. As opposed to having to be manually entered into a database, automating the data collection means immediate action can be taken on meaningful results of quality inspections. There is no lag time between the verification step and implementing remediation or any other steps that may be called for post-inspection.
Optimize the power of next-gen connectivity with data & surface intelligence.
Surface Quality Data Creates Reliability & Certainty
Automated surface quality and cleanliness inspection remove variables that increase uncertainty and volatility. When human error and subjectivity are out of the equation, it is easier to satisfy rigorous safety and cleanliness standards.
Data derived from an autonomous system can map out the entirety of a material surface, leaving nothing to guesswork. This data allows manufacturers to be certain that every part will meet performance requirements reliably and repeatably.
Download the “The Future of Manufacturing: A Guide to Intelligent Adhesive Bonding Technologies & Methodologies" eBook for more information on how setting up in-line surface quality inspections makes reliable adhesion process control possible.












.jpg?width=850&height=495&name=metal-brazing-copper-component%20(reduced).jpg)
