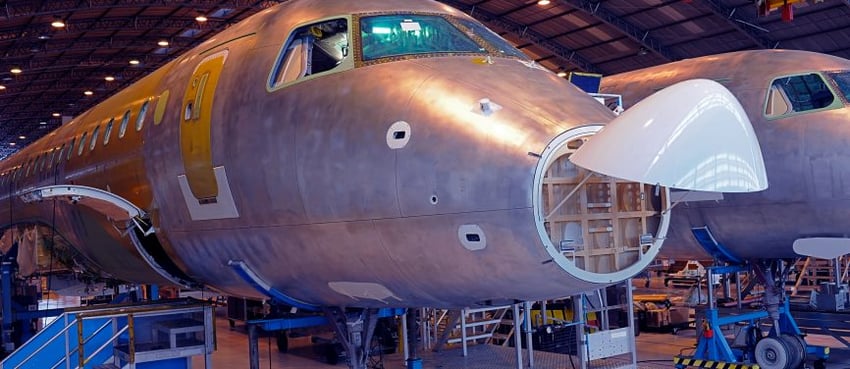
The surface preparation processes used to assemble or repair an aircraft include multiple steps to achieve a final bond. For a strong, safe, and effective bond, all steps in the process must be consistent and validated prior to moving forward in the process.
So, how can aircraft manufacturers know that each step in the process is complete to a satisfactory degree when there previously have been only outdated, ineffective, or objective methods?
The effects of this crucial question can be summed up by saying when the desired result is not produced, every surface preparation step must be re-examined.
The Material & Process
An engineer from an aircraft manufacturer specializing in major defense applications was teaching mechanics how to use the Surface Analyst to verify clean composite surfaces during their assembly process.
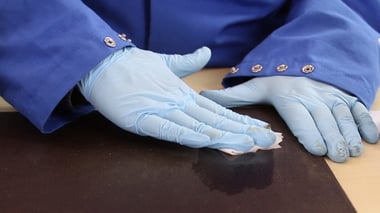
Their surface preparation process included three steps:
• solvent wipe
• hand abrasion
• varied solvent wipe
The Problem
After these steps, the engineer measured the composite panel surface using the Surface Analyst. The contact angle was incredibly high, at around 70°.
How could this surface display such poor quality when the "proper" steps were being taken to prepare it appropriately for bonding?
In a typical preparation process situation, the higher the contact angle, the less reactive or "dirty" the surface is. The lower the contact angle, the more reactive or "clean" the surface is. These measurements indicate a surface's preparedness for bonding.
Needless to say, this measurement tilted a few heads. Their surface showed more contamination after the specified preparation process than before! When and where in the process was this happening?
The Measurements
The original contact angle taken prior to any surface treatment read 70°.
• After the first solvent wipe, the contact angle read 50°
• After the hand abrasion, 30°
• After the final step of the solvent wipe, the contact angle read higher than the original angle of 70°
Rethink your adhesion manufacturing processes with Surface Intelligence.
The Solution
These findings led them to investigate the solvent itself, which was stored in an opaque container. The team poured the solvent into a clean beaker.
Surprisingly, the cleaner was a dark charcoal color rather than clear. That's when the team explained to the engineer that they first had been using the solvent to soak other parts and then poured it into a container to be reused in the next step of the process.
The Surface Analyst revealed that the manufacturer was using an extremely contaminated solvent to "clean" their surfaces. While the coloring of this solvent is obvious contamination, a solvent can quickly obtain contamination and may lose its integrity well before showing physical proof. But, with in-place verification procedures with the Surface Analyst, the quality of a solvent would never be ambiguous.
The Results
Based on these results, the company refined its surface preparation process and use of the solvent protocol.
These new procedures were made possible due to the Surface Analyst. The instrument detected and identified the Achilles heel of the surface preparation process.
As a result, the company’s process became stronger and more efficient. For technicians, mechanics, engineers, and anyone involved in the manufacturing process, the Surface Analyst verifies the surface's proper preparation within every step of the process and can troubleshoot reliably when issues arise. These uses and several others, demonstrate how the Surface Analyst can improve and monitor the surface preparation process for reliable bonds.
Revolutionize Your Manufacturing with Surface Quality Inspection Technology.

