Medical device manufacturing is a serious business. It’s a business that directly affects a person’s health and well-being. When a product operates so intimately with human life, there is no room for failure. The final product must be reliable and top-of-the-line to address patients’ needs harmlessly and seamlessly. Thus, process monitoring and quality control are pivotal to manufacturing an ideal product.
A medical tubing manufacturer specializing in catheters needed to implement more effective process monitoring for their coating process. This tubing, made from PET (Polyethylene terephthalate) is used to administer fluids and gases or to drain fluids from a body cavity, vessel, or duct. Therefore, the tubing must be flexible, inert, and highly lubricious in order to enter the human body harmlessly and efficiently.
To achieve lubriciousness, the manufacturer coated the PET tubing with PTFE (polytetrafluoroethylene) coating. Plasma treatment was used as a way to prepare the tube’s surface prior to coating. However, the manufacturer had no in-line method of verifying the effects of the plasma treatment on the surface.
The closest solution they had to verify the plasma treatment was dyne inks, but because dyne inks are destructive to the part and hazardous to its users, it was limited to the laboratory for research and development only. This was not a feasible method for the factory floor. Dyne is also highly subjective and not quantifiable—leaving inconsistencies in product quality.
The manufacturer desired a process to verify and monitor their plasma treatment on the factory floor and eliminate the use of dyne inks. Without an in-line surface cleanliness gauge, the manufacturer could not guarantee their product and risked failures in the field.
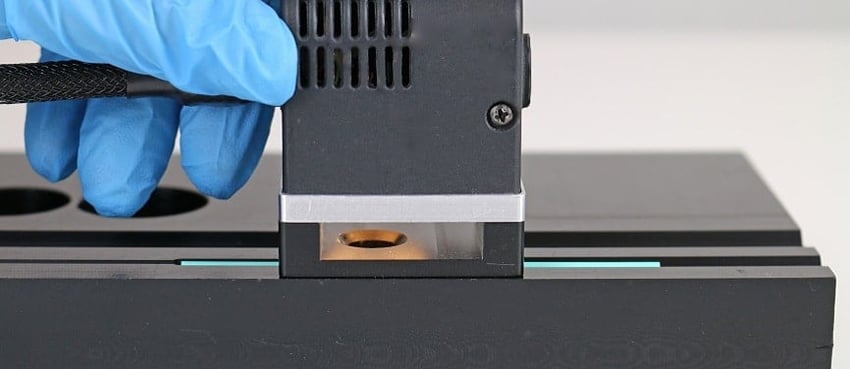
A sales engineer from Brighton Science visited the company and demonstrated how the Surface Analyst is a non-destructive, objective, and quantifiable instrument that can easily be used on the actual part for measurements right on the factory floor. Brighton Science even offers a specially made catheter inspection kit to hold different-sized catheters and other medical tubing in place during measurements.
Using the Surface Analyst, the company was able to measure every tube to verify plasma treatment. They could guarantee that every part was ready to hold the coating evenly, preventing failures. Furthermore, as the Surface Analyst records and saves every measurement, the manufacturer was able to collect data for audits and research and development.
Optimize the power of next-gen connectivity with data & surface intelligence.
When manufacturing a product that directly affects a person, excellence is crucial. There is no room for failure. With more precise process monitoring and in-line quality control through the Surface Analyst, the manufacturer now has confidence that their product will work seamlessly and easily to address patients’ needs.
To find out more about verifying plasma treatment on medical tubing prior to coating, download the "Manufacturer's Roadmap to Eliminating Adhesion Issues in Production" ebook. This guide gives clear insight into eliminating guesswork around adhesion so manufacturers can achieve consistent and successful results.


