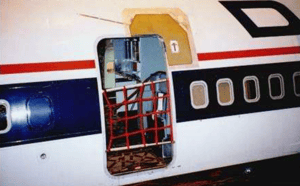
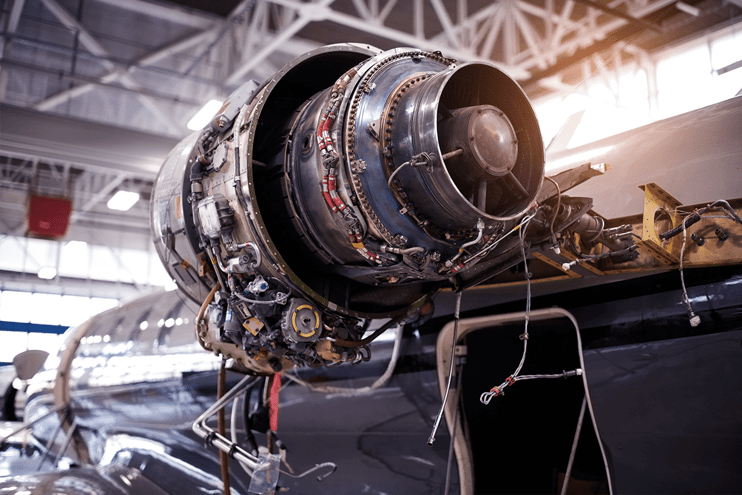
When an aircraft is manufactured, every single portion of the plane or jet is designed to be able to be serviced and repaired for the next 20-30 years. Aircraft manufacturing OEMs are building aircraft with the expectation that extensive repairs will have to be done later down the road. This is an extremely complex process exacerbated by repairs typically being done in the field and often by a third party.
It’s not uncommon to have maintenance, repair, and overhaul (MRO) companies cut into the fuselage of planes to patch, bond, seal, paint, and coat faulty or damaged parts. Engine repair and other major work is done on all aircraft parts. These repairs and maintenance operations involve many types of adhesive bonds, fastening, and welding of dissimilar materials in various states of preparedness.
When making sure that these repairs are done properly and that the repair is even stronger than the original, issues become apparent.
To learn how to build a process that is founded certainty and data, download our eBook: Predictable Adhesion in Manufacturing Through Process Verification
Communication Between Cross-Functional Teams
One of the chief issues acknowledged by many OEMs, airline companies, and anyone involved with the management of repairs is that these operations are not done in the same kind of controlled environment as the original assembly and manufacture were done. These companies typically outsource the repair work to companies that are operating in conditions that can be quite different from those where the aircraft was initially built.
A standardized validation methodology and common quality specs are needed to ensure that these repairs are done as prescribed and recommended by the OEMs and meet federal regulatory standards.
As Integrated Aircraft Health Management (IAHM) systems expand, data sharing becomes all the more important to ensure alignment on what drives maintenance actions and why. Communication needs to be consistent and clear at the airplane, component assembly, and piece part levels. Leading airlines, MROs, and OEMs are discussing the need for a more standardized component shop teardown report and ways to improve maintenance data sharing and management.
Optimize the power of next-gen connectivity with data & surface intelligence.
With reliable and versatile quality measurement equipment, companies can rest assured that their repair teams and contractors will be able to meet any standards for aircraft performance and streamline communications.
The demands on maintenance crews and repair companies are tremendous because the work is typically done in the field, and the material bonded to the aircraft structure is in an extremely different state than the composite, metal, or polymer that it’s being bonded to.
What it boils down to is that the surfaces being repaired need to be cleaned, abraded, and machined to a state ready for bonding to fresh parts. To be certain these parts are sufficiently prepared for adhesion, there need to be clear, quantitative specifications for quality reporting on preparation steps that materials can be tested against in a field environment. The key here is the ability to do these objective quality checks on real parts, in real-time, repeatedly, by the mechanics doing the repair work, providing reliable data that can be shared and understood across many teams.
Controlling Adhesive Bonding for Flawless Repairs
Adhesive bonding is one of the best ways to repair patches with complex geometries seamlessly and maintain the aircraft's aerodynamic qualities. Adhesive bonding processes are required for many composite aircraft repair procedures. Below is the actual FAA (Federal Aviation Administration) regulatory guidance on bonded structure and bonded repairs:
AC 20-107B, para 6(c):
Structural Bonding. Bonded structures include multiple interfaces (e.g., composite-to-composite, composite-to-metal, or metal-to-metal), where at least one of the interfaces requires additional surface preparation prior to bonding. The general nature of technical parameters that govern different types of bonded structures are similar. A qualified bonding process is documented after demonstrating repeatable and reliable processing steps such as surface preparation. It entails understanding the sensitivity of structural performance based upon expected variation permitted per the process. Characterization outside the process limits is recommended to ensure process robustness. In the case of bonding composite interfaces, a qualified surface preparation of all previously cured substrates is needed to activate their surface for chemical adhesion. All metal interfaces in a bonded structure also have chemically activated surfaces created by a qualified preparation process. Many technical issues for bonding require cross-functional teams for successful applications. Applications require stringent process control and a thorough substantiation of structural integrity.

Bonded repairs allow complex-shaped patches to be blended into critical aerodynamic surfaces without losing performance. Using mechanical fasteners requires drilling holes that create hundreds or thousands of concentrated stress areas, and all of that is avoided when repairing using adhesive bonding.
Bonded repairs are inherently a secondary bonding process, during which discrete interfaces are created where the bonding will actually occur. These repairs take into consideration all kinds of performance, from aesthetic to mechanical.
The area to be bonded in these repairs is located within a larger area of material that has been in service and is contaminated with a variety of soils picked up during normal aircraft operation: organic and inorganic soils, fuel, hydraulic fluids, etc. So, even though the area being prepared is relatively minimal when preparing a surface, you are creating a highly reactive surface. Being in such close proximity to these very mobile contaminants in the surrounding area, cleaning these surfaces sufficiently to obtain reliable adhesive bonds can be particularly difficult in field situations. Furthermore, because the difference between a well-cleaned surface and a contaminated one may only be a few molecular layers, it can be difficult for the technician to establish when the surface has been properly prepared.
At the end of the day, successful bonded repair of aircraft structures involves creating a small area of carefully controlled chemical composition on metallic or polymeric surfaces. This requires an understanding of the variables in play, appropriate preparation methods to create a bondable surface, and a surface quality measurement sensitive enough to detect the minutiae of molecular differences between a prepared surface and a surface bound for adhesion failure.
Contact Angle Measurement is the Silver Bullet
It’s time for a new, fast, reliable, and universal approach to process control that will put everyone at ease. With contact angle measurements, just such a utopia is possible.
Contact angle measurements are versatile and reliable quality checks, bridging every gap in this article. Some of the many benefits of contact angle measurements include:
- The ability to be done on any solid surface, regardless of the geometric anomalousness of that surface
- A non-destructive test that can be done directly on the parts that are actually being bonded, coated, painted, or sealed
- It gives a single number that correlates to the cleanliness of the surface, streamlining data-sharing and simplifying surface preparation specifications
- Sensitive to molecular variations in surfaces that can be detrimental to adhesion
- Measurements can be taken in 2 seconds, so no processes need to slow down to implement this test
It is possible to institute a constant objective language across MRO sites regardless of the material or environment so there is universal confidence in the repair being done well. Using a contact angle system improves the process by:
- offering time savings by streamlining communication and optimizing workflows
- reduction of risk
Rethink your adhesion manufacturing processes with Surface Intelligence.
Building consistency into the repair process means you don’t over-clean or under-clean. How long does it take to get the aircraft flying again? With the proper communication, surface preparation, and quality measurements in place, it can take significantly less time.
Download the eBook "The Future of Manufacturing: A Guide to Intelligent Adhesive Bonding Technologies & Methodologies" to explore how your operation can leverage intelligent technologies and methodologies to optimize aircraft bonding and sealing processes.

